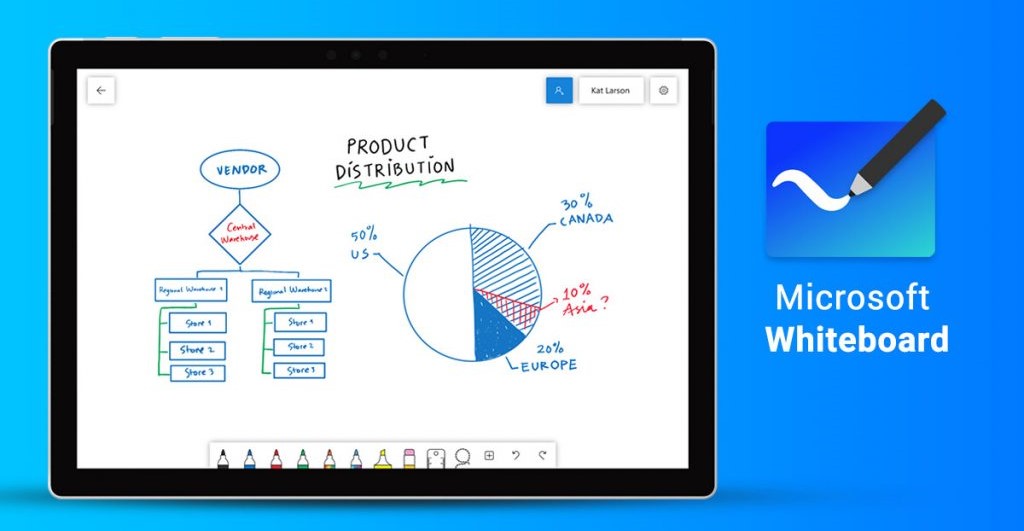
Microsoft Whiteboard is a collaborative whiteboard application that allows Microsoft users to quickly share ideas with other people. It allows you and your team to draw or write as if you are using a physical whiteboard, but with tons of more features. A new application with many features could be a bit overwhelming to begin using, so in this Microsoft Whiteboard tutorial, I have outlined the 4 simple steps for you to get started, followed by a small FAQ section. Once you get the hang of MS Whiteboard, please go ahead to the second article in the series where we specifically talk about how to use MS Whiteboard for team collaboration.
- Why go digital?
- Step #1: Download, install and sign in
- Step #2: Use inking tools
- Step #3: Adding digital content
- Step #4: Save, share and export
- Frequently Asked Questions
- Is Microsoft Whiteboard a free or paid app?
- Can I use Microsoft Whiteboard on my Windows 7 PC?
- Can I use Microsoft Whiteboard in a web browser?
- Can I use Microsoft Whiteboard on iOS and Android tablets?
- Can I sign in Microsoft Whiteboard with Gmail?
- How can I download and install updates for the app?
- Who can I share my whiteboards with?
- Is Microsoft Whiteboard integrated with Microsoft Teams?
- What’s next
Why go digital?
Whiteboard is the easiest way to collect ideas during team discussions. It is not surprising to see physical whiteboards in meeting rooms, and as many companies are digitally transforming their team collaborations, we are starting to see more and more interactive panels set up in meeting rooms as digital whiteboards. There are many benefits to make your whiteboard digital, such as:
- You will have unlimited space and pen tools
- You can add digital content (PDF, image, PowerPoint, etc.)
- It’s easier to save and share your whiteboards
- You can access the whiteboards from anywhere and collaborate with others
Now that you have the hardware, the next thing to look into is Microsoft Whiteboard. Why? It is the digital whiteboard that allows you to do everything you can do on physical whiteboards, but with tons of other tools that you’ll find very useful for team collaboration. Furthermore, it comes with every Windows 10 machine, and is a FREE component in all Office 365 plans.
Step #1: Download, install and sign in
First things first, getting the application to your device. If you are using the latest version of Windows 10, you should see the Whiteboard app inside the Windows Ink Workspace button.

Click to get it downloaded to your Windows machine. If you are using an older Windows 10 device, go to the Microsoft Store and download the app.
If you are using iOS devices (iOS 9 or later) such as the iPhone or iPad, the Microsoft Whiteboard app can be found in the App Store.
Once you got the app installed, you can open it and sign in. To use Microsoft Whiteboard you must either sign in with a personal Microsoft account (Outlook, Hotmail, Live, Xbox, etc.), or an Office 365 account (work or school). Use the latter option if your organization subscribes to Office 365, as it will allow you to easily collaborate with your coworkers.
When sign-in is completed you will be welcomed to the main page: an infinite large white canvas. Say hi to your first digital whiteboard.
Step #2: Use inking tools
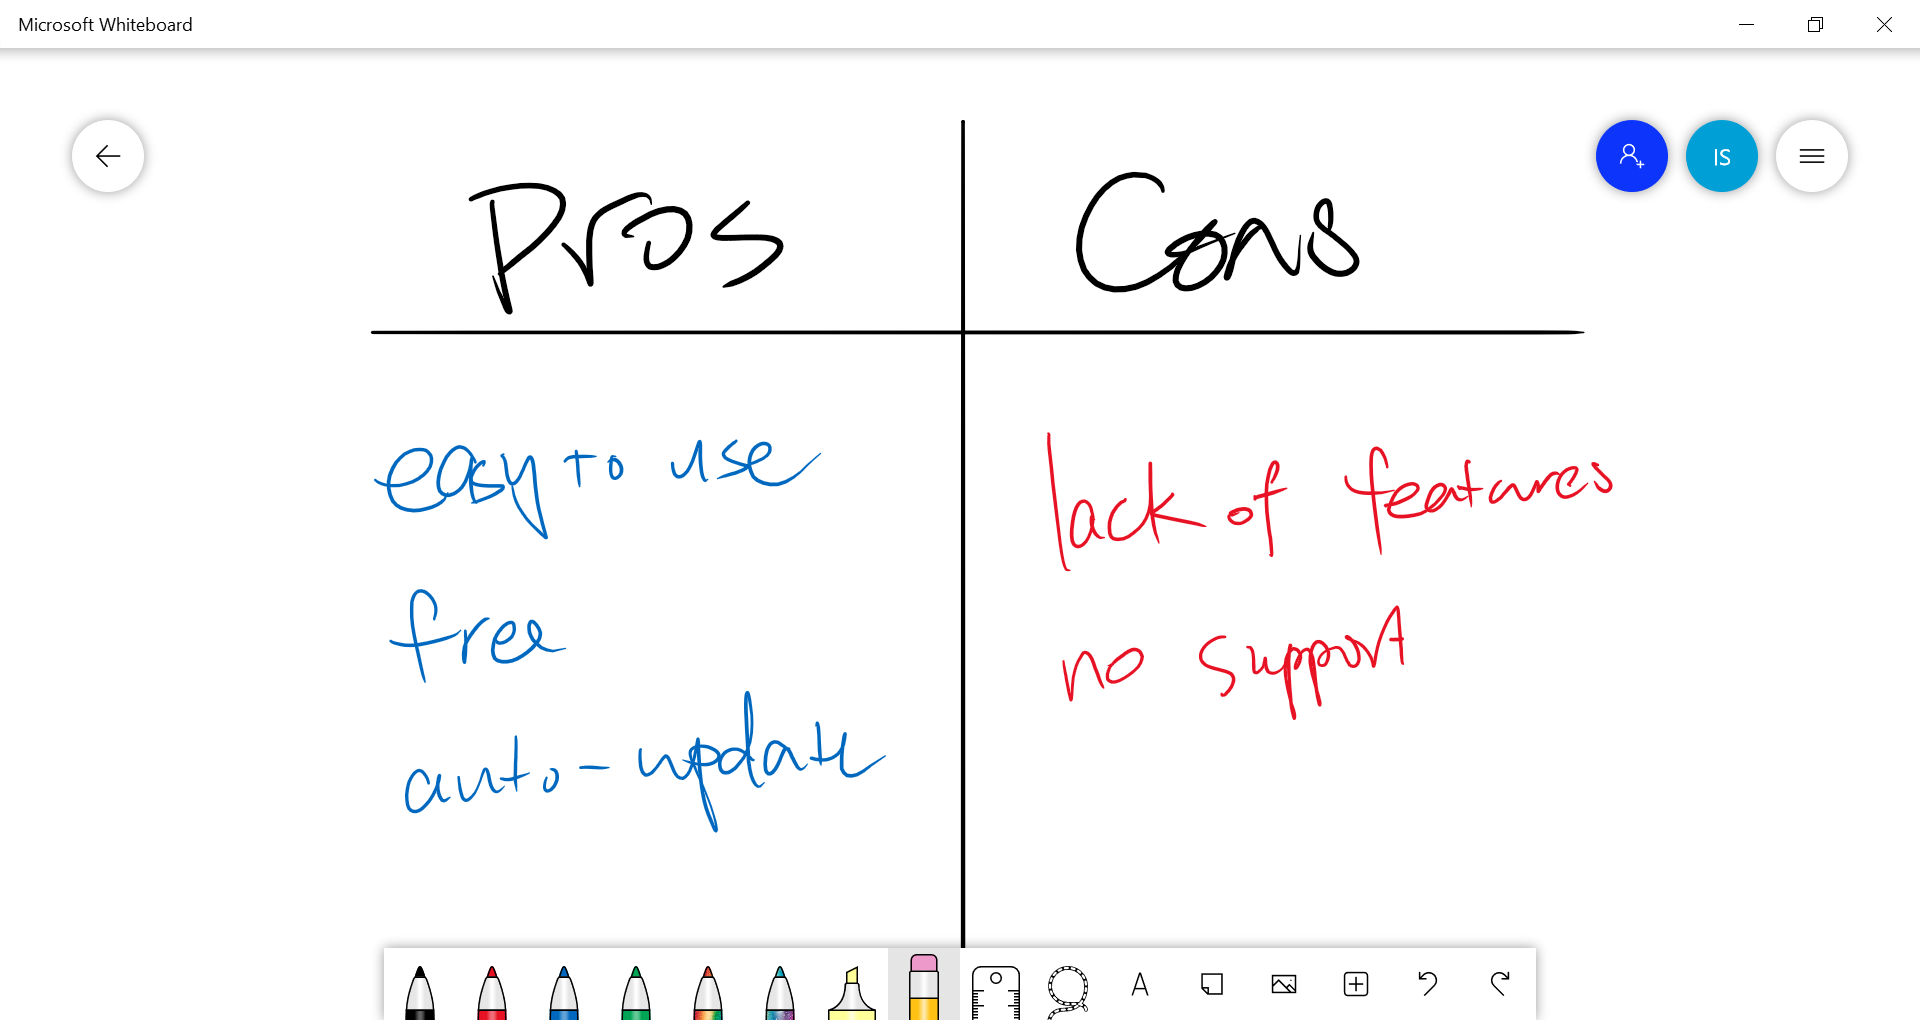
Let’s begin drawing! The writing tools in the toolbar work as you would expect, and you will never run out of ink in the markers. If you are using a large interactive panel, it feels just like a real whiteboard and multiple team members can draw on it at the same time.
The canvas is infinite. Zoom in or out on the Whiteboard by using two fingers and pinching in or out. You can also double tap on blank white space to view the entire canvas at once.
There are 6 pens, each can be configured with different colors and sizes; 1 highlighter, again with configurable size and color; plus eraser, ruler, lasso, and undo/redo commands.
If you click on the menu icon located at the top right corner, there are a few very useful settings worth mentioning:
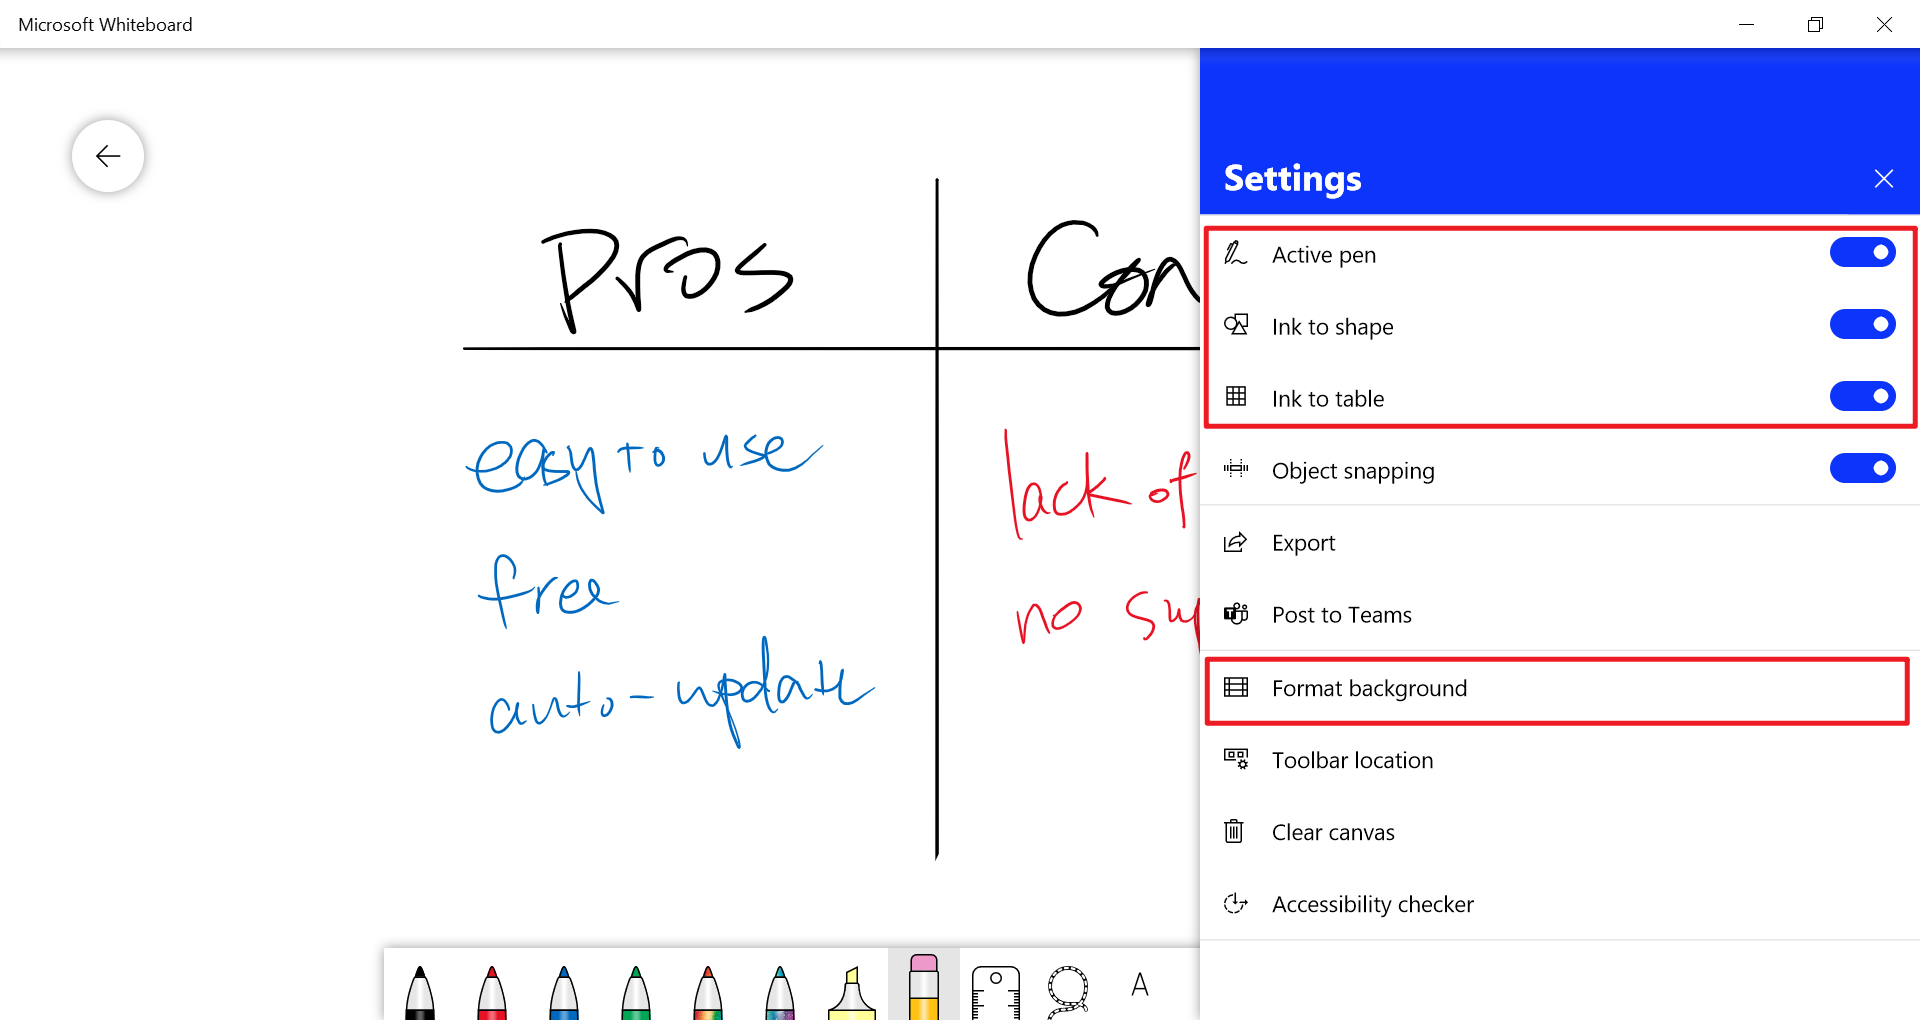
- Active pen: if you are using a stylus device such as Surface Pro, this option disables touch drawing (to reject palm touch) and turn your touch to pan/zoom gestures
- Ink to shape: once you finish drawing a shape, this tool turns it to a perfect shape (circle, rectangle, triangle, etc.)
- Ink to table: you can draw tables and add/remove rows and columns easily with this option. When you ink inside table cells, the cell size will grow automatically to give you space
- Format background: your digital whiteboard doesn’t always have to be white. You can configure different background color and texture options
Step #3: Adding digital content
The real power or a digital whiteboard lies in its ability to work with digital content, such as local images, online images, PDFs, slides, etc., because once digital content are placed on the canvas, we can annotate on them easily to aid our discussions. The integrated online image search is especially useful for brainstorming as you can easily search and download images right inside the Whiteboard app, without needing to switch to a browser.
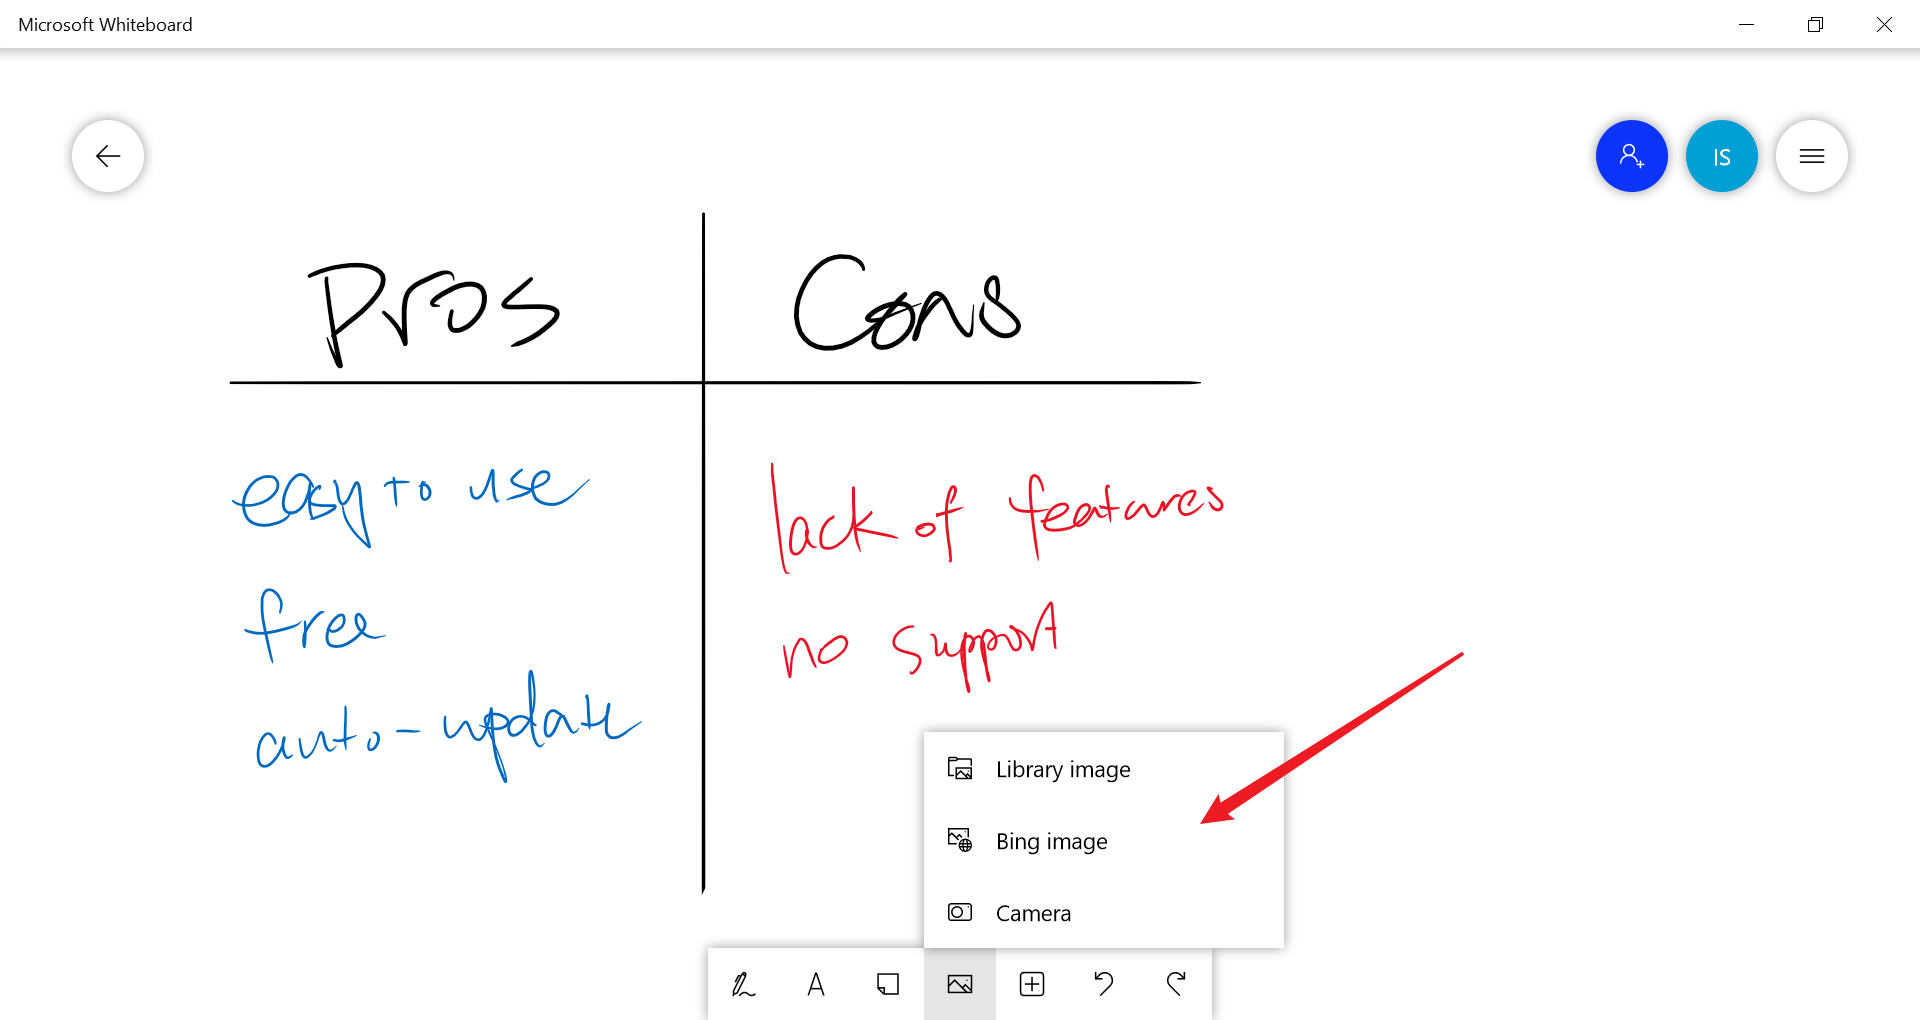
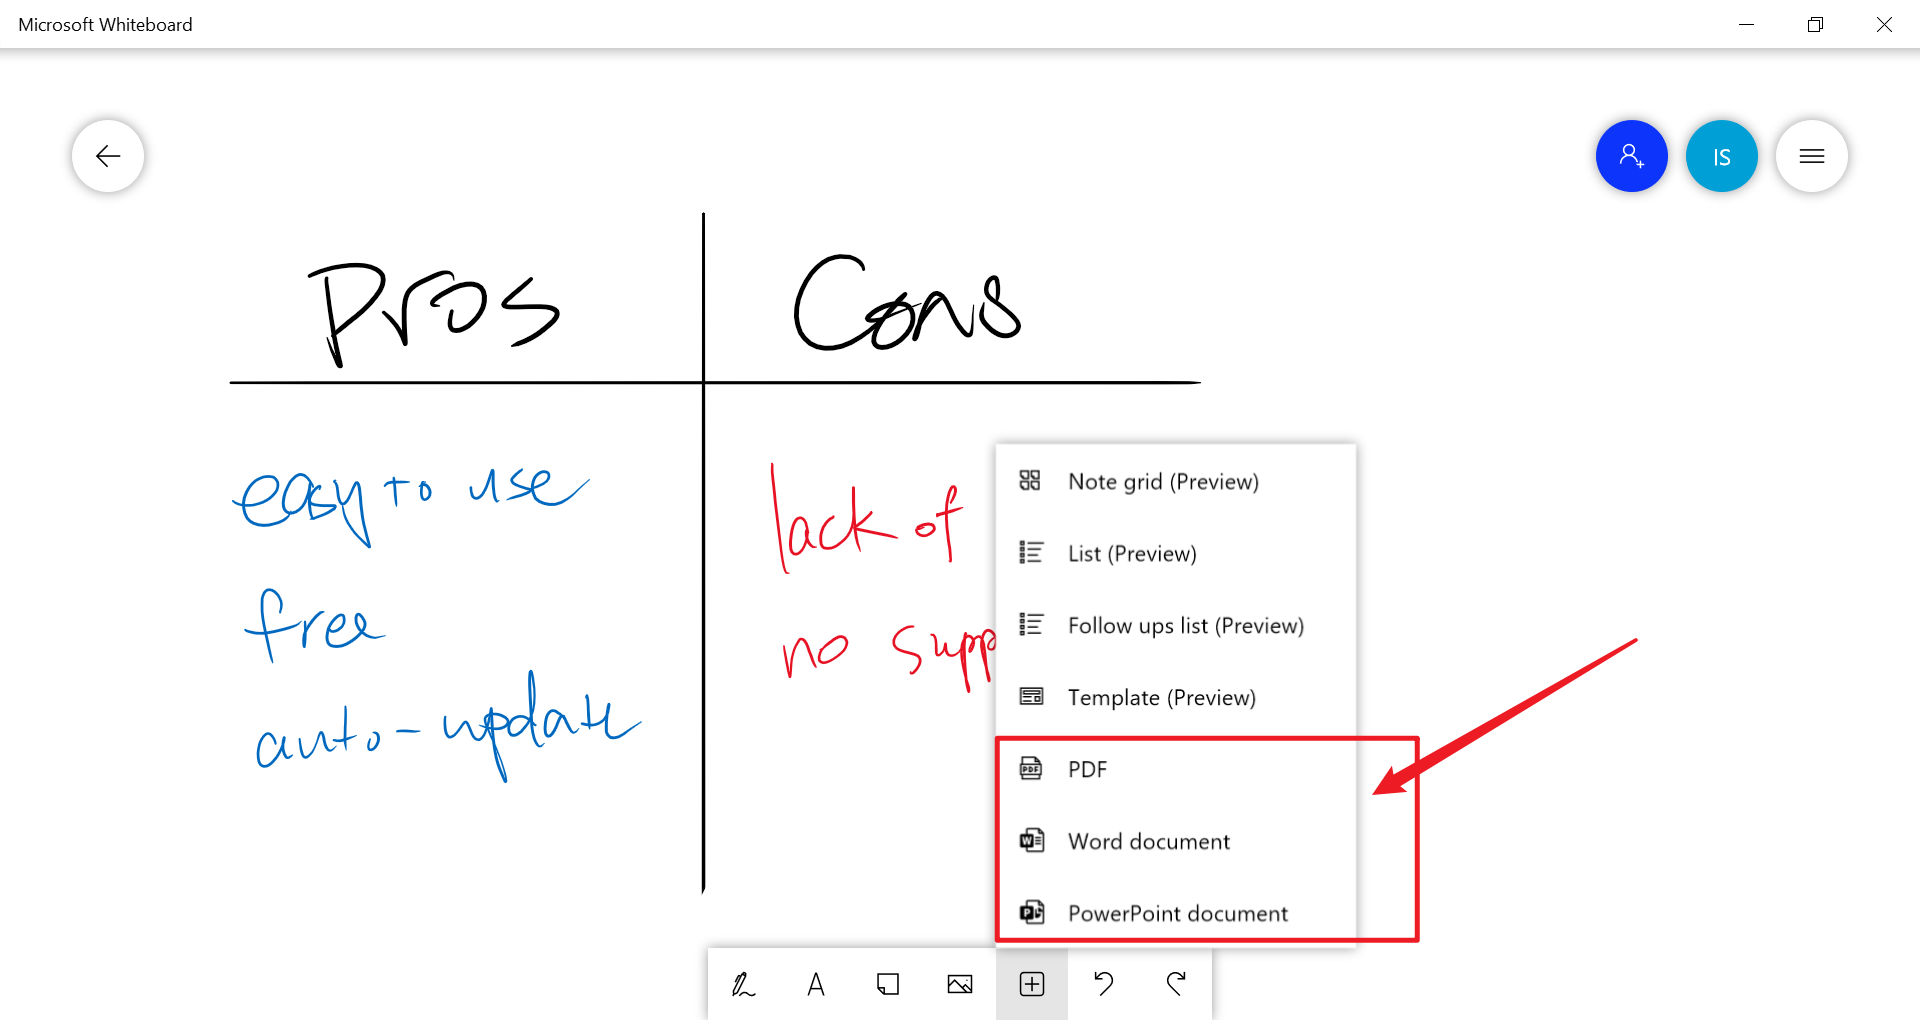
Once the digital contents have been added on the canvas, they can be moved, rotated, resized using multitouch gestures. Now with the digital content we can switch to pen tools and annotate on them.
What’s handy here is when you move the image after you’ve done some annotations on it, the ink will automatically go with the image. So you won’t have to manually lasso select the image and ink, which could be time consuming if you are working with a large canvas with a lot of content.
Step #4: Save, share and export
Whiteboards are automatically saved
There’s no save button on Microsoft Whiteboard, as everything you do on the canvas is automatically saved and synced with the cloud. So next time when you open the same whiteboard on this machine or any other device with the same account signed in, you can continue with your left-over work.
It’s worth to mention that since you can create unlimited number of whiteboards, naming them properly will keep your work organized. To do that, click the Back icon on the top left corner of the canvas to go back to the list of your whiteboards. From there, you can easily rename your saved whiteboards and delete your unwanted ones.
Share whiteboards with coworkers
The other option in the menu is that you can invite your colleagues to join the whiteboard and work together with you. Click Invite participants to add your colleagues. Alternatively, this command can be found within the opened whiteboard, at the top right corner next to your avatar.
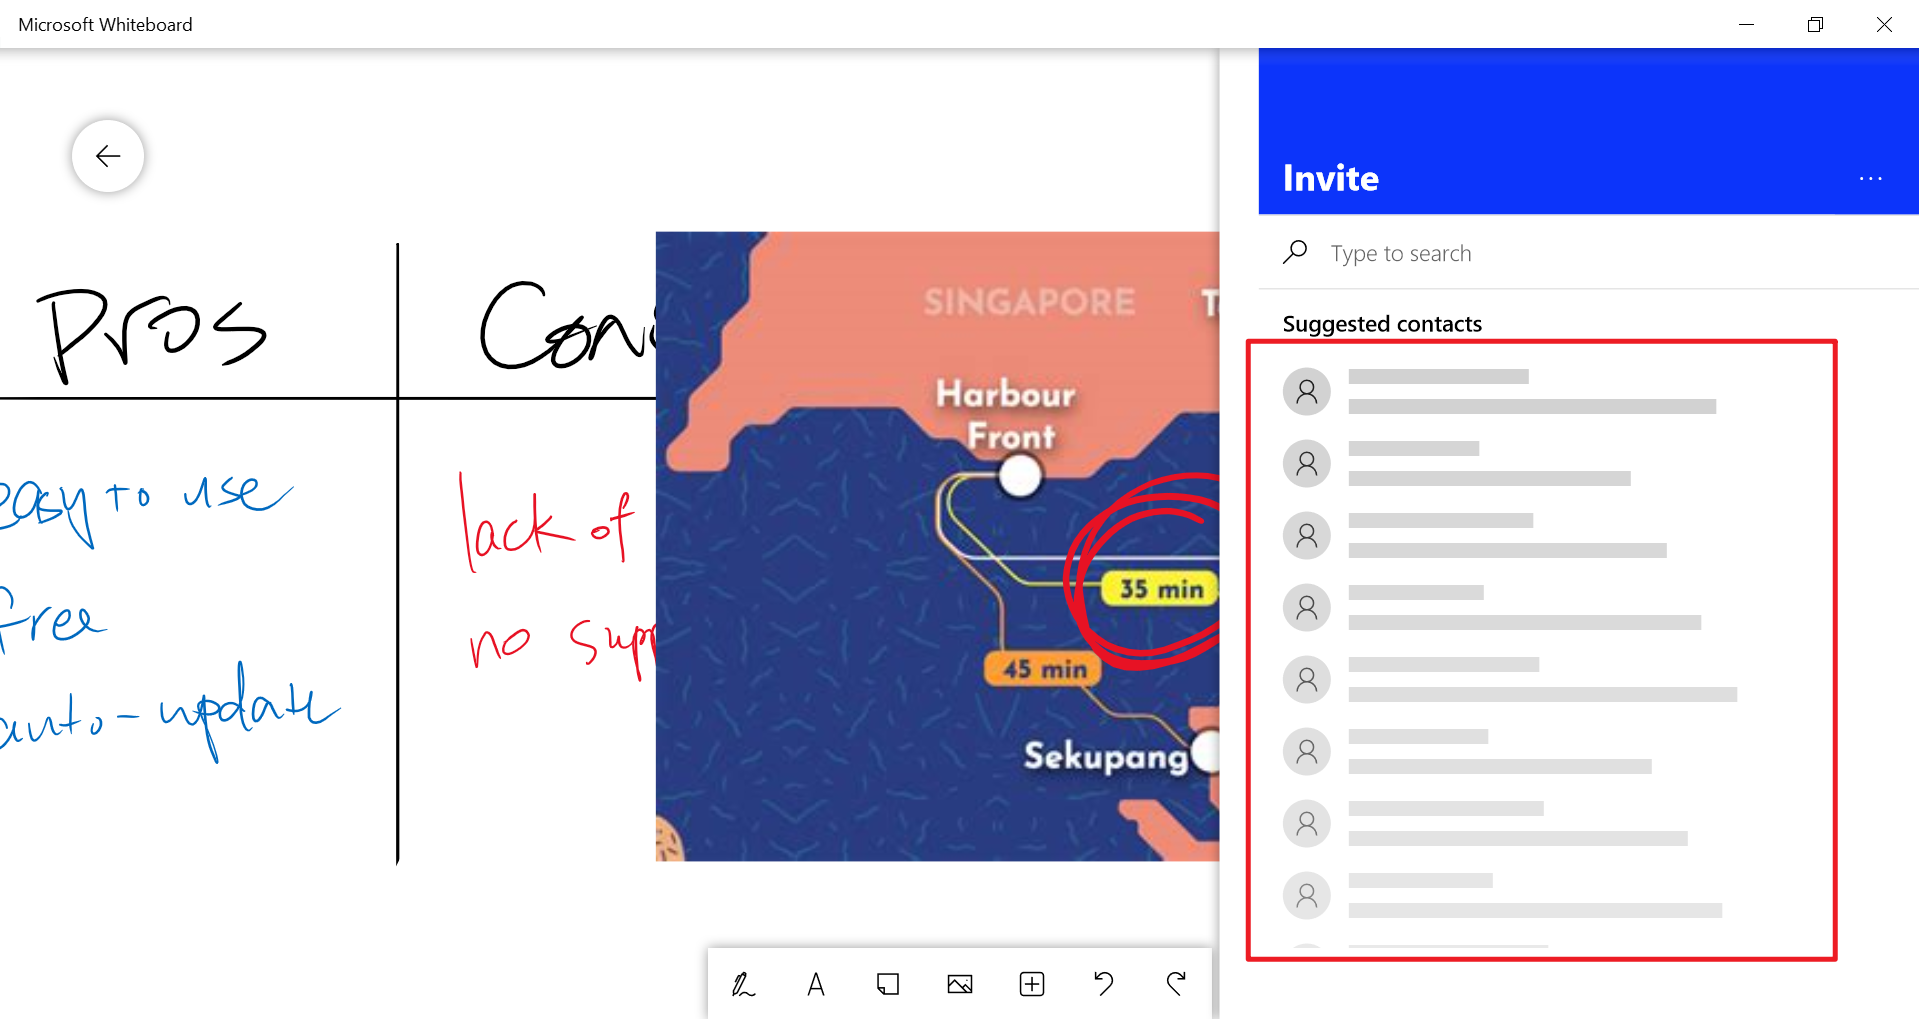
As of now, you can only invite users within your organization to join and collaborate on your whiteboards.
Export your whiteboard
If you want to export your whiteboard as an image file to share with people who don’t have access to the Whiteboard app, you can click on Menu and choose Export. Here you can see options to export the whiteboard as PNG or SVG.
Note that there’s no direct Print function on Microsoft Whiteboard app. So if you want to print your whiteboard content, you have to export it first as PNG then print.
Frequently Asked Questions
Now you should have a clear idea how to get started and use the Microsoft Whiteboard. In case you still have questions about this app, we have prepared answers to a few frequently asked questions for your information.
Is Microsoft Whiteboard a free or paid app?
The app is free, no matter if you are using personal Microsoft account or organizational Office 365 account.
Can I use Microsoft Whiteboard on my Windows 7 PC?
No. The Whiteboard app works with Windows 10 only.
Can I use Microsoft Whiteboard in a web browser?
Yes, if you are using an organizational Office 365 account. Once you sign in you will see all your Office apps and can open them in browser.
Can I use Microsoft Whiteboard on iOS and Android tablets?
For iOS users, you can download the Whiteboard app from the App Store; but for Android users, as of now you can only access the app from browser.
Can I sign in Microsoft Whiteboard with Gmail?
No, unless your Gmail account is also your Microsoft account.
How can I download and install updates for the app?
You don’t need to. Microsoft Whiteboard will auto-update itself.
Who can I share my whiteboards with?
If you sign in with your personal Microsoft account, you can share the whiteboards with other personal accounts; however, for team collaboration you should sign in with your organizational account. After that you will be able to share the whiteboards with other accounts from the same organization.
Is Microsoft Whiteboard integrated with Microsoft Teams?
Yes. You can use Microsoft Whiteboard directly within Teams. However it’s a simplified version which doesn’t have the full features compared to desktop app. More details are covered in this article.
What’s next
Microsoft Whiteboard can be used in so many ways. No matter which industry you are from, it can be used to collaborate, engage, and gather ideas. Taking notes, brainstorming, or problem solving can all be done within this application.
Microsoft Whiteboard Use Cases
Now that you know the basics of this app, please read our second article in the series where we specifically talk about how to use Microsoft Whiteboard for team collaboration. We will cover a few most common use cases and explain how a team can make full use of the app.
Interactive Online Teaching
If you are using MS whiteboard specifically for teaching, make sure to check out ClassPoint. ClassPoint is a free interactive teaching add-in for PowerPoint that allows teachers to add a variety of different student interactions into their presentations, including whiteboard slides and interactive quizzes.

4 Responses
How do I find the second article you mention in your final paragraph?
Chris, the second article will be released shortly! When it is, there will be a link attached to this article and it will be on our blog homepage.
I’ve used this exact setup to teach remotely. I’m shocked at how quickly the pen syncs between my two computers. Probably faster than the regular Zoom video lag that your viewer would be experiencing.
OneNote also syncs pen strokes pretty quickly these days and it has better organizational and drawing tools. I am transitioning to that, as that’s where my lecture notes already live.
However, if you also want to draw by hand, I would recommend pairing that with a XP-PEN Deco 01 : https://www.xp-pen.com/product/84.html pen tablet for digital writing and drawing . It has really been a game changer for my work flow.
Hi Taurak, it is a great setup! We have used that tablet as well and are super happy with how it has been working for us, too.